Everyone wants a better midsection — and we feel you on that — so today we want to share 41 of the best exercises to flatten your belly and build a stronger core!
When it comes strengthening your core, the benefits go beyond toned abs (although, that’s great too!) Without a strong core, you’re more prone to injury and not getting the most of your workouts. Below, you’ll find the benefits of core strength and 41 exercises to whip your torso into shape!
Benefits of Having a Strong Core:
Suffering from a sore neck, back and shoulders? Get our mobility guide to ease pain and soreness.
Get The FREE Mobility Guide To Fix Your Pain Today!
- Improved Posture – Having a strong core is just that — it’s your core — your foundation. It helps you stand taller, and even look leaner. It allows you to sit and stand with your shoulders back and your head held high.
- Prevents Lower Back Pain – A lot of common back pain could be reversed simply by improving your core strength. Your core includes your abs and your lower back muscles — this means that by strengthening them, you set yourself up for less injury and less pain in the long run.
- A Stronger Core = Easier Workout – Having that strong foundation will help you not only in life, but will also help to improve your workouts and make them more effective. Strong cores provide better balance and breathing during each workout, and help to stabilize your entire body.
Crunch
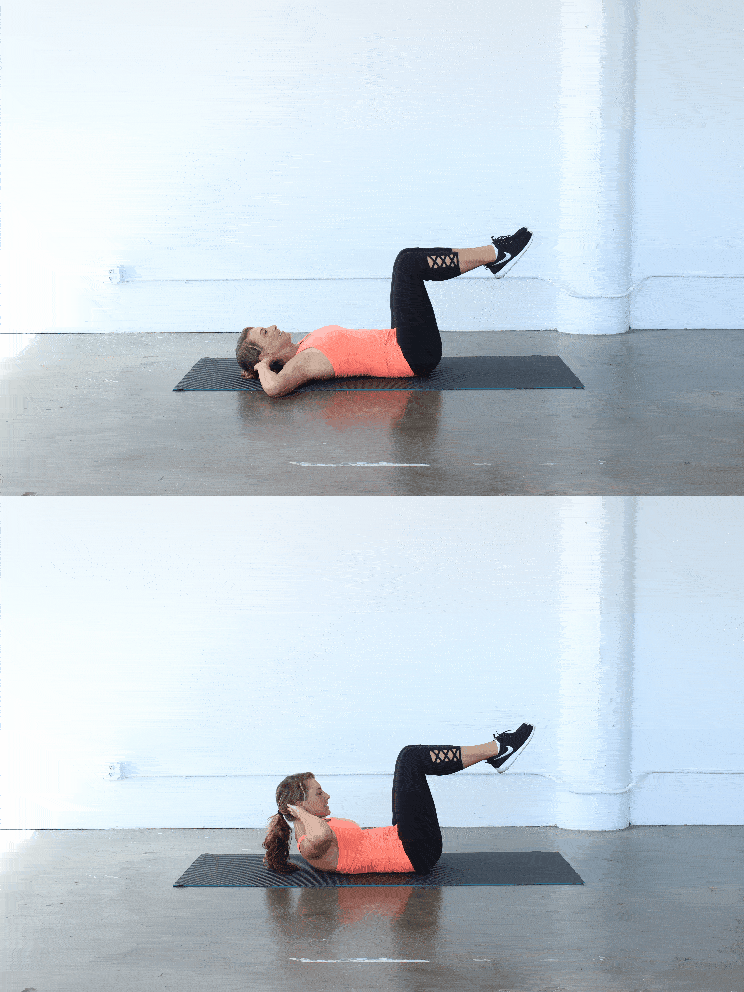
Oblique Crunch
Repeat the same as above, only this time as you lift your head and shoulders off the mat, rotate to the RIGHT, thinking of bringing the LEFT ribs to the RIGHT hip. Lower back down to center and repeat to the LEFT.
Bicycle
Lay on your back on the mat and place your hands behind your head. Bring your knees up in a 90-degree bend, with your knees directly over your hips. Using your abs, lift your chest and your head off the mat a few inches and rotate to the RIGHT, reaching your LEFT elbow to your RIGHT knee, and simultaneously reaching your LEFT leg out straight to hover off the mat. Come back into the center with your knees over your hips, and repeat on the other side. Complete 5-10 repetitions on each side.
Exercise: Bicycles
Scissors
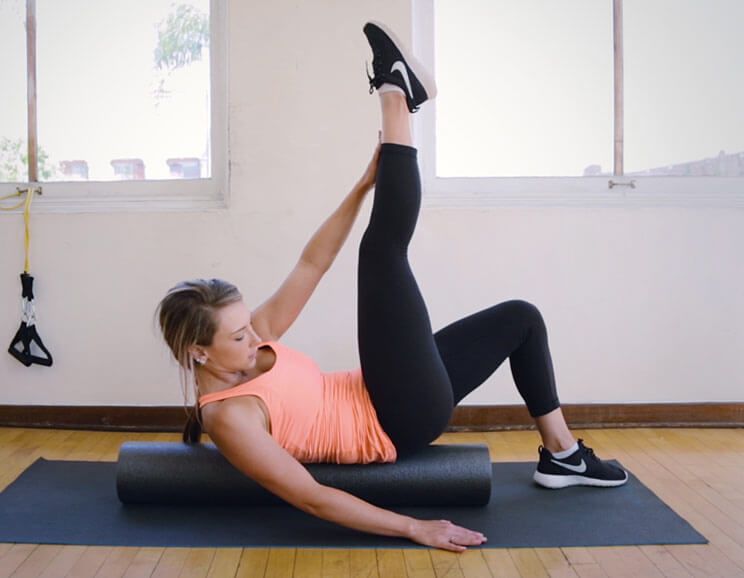
This is a more advanced version of the exercise, using straight legs. Lay on your back, and bring your legs up to the ceiling, with your feet directly over your hips. With your hands behind your head, lift your chest and head off the mat using your abdominals. Use the obliques to rotate to the RIGHT, reaching your LEFT elbow to your RIGHT knee, and simultaneously lowering your LEFT leg out straight to hover off the mat. Bring your chest back to the center as you scissor the legs to the other side.
Exercise: Scissors
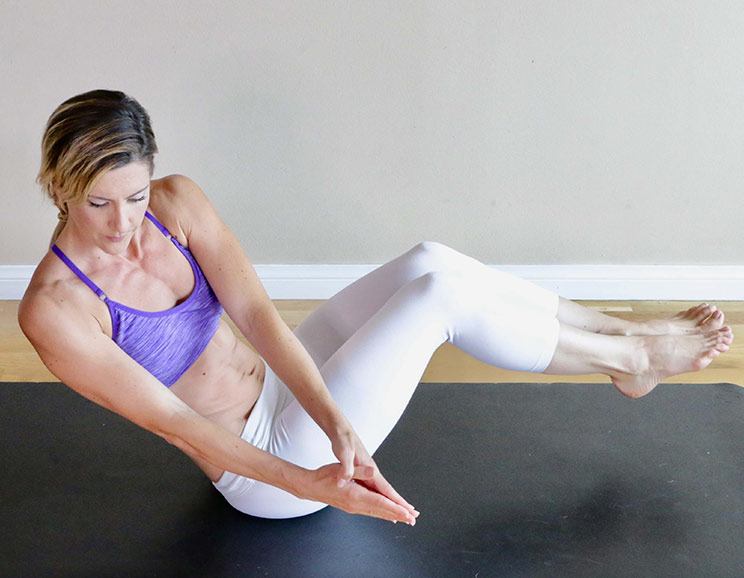
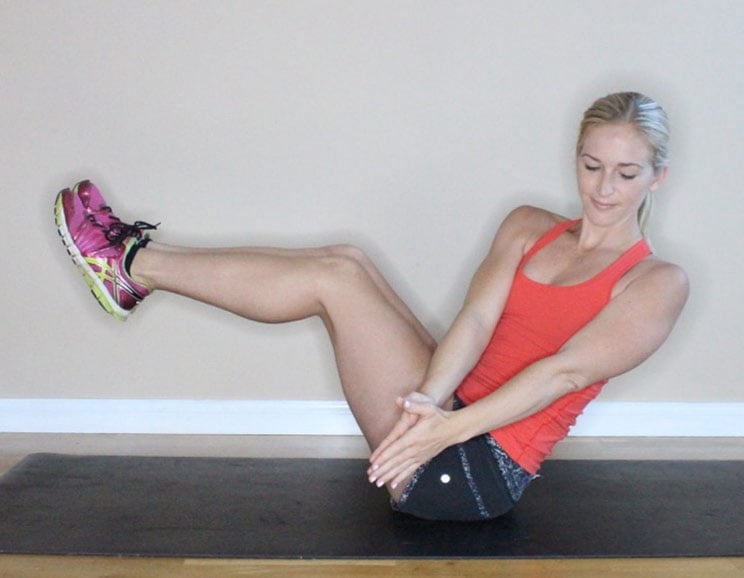
V-Sit
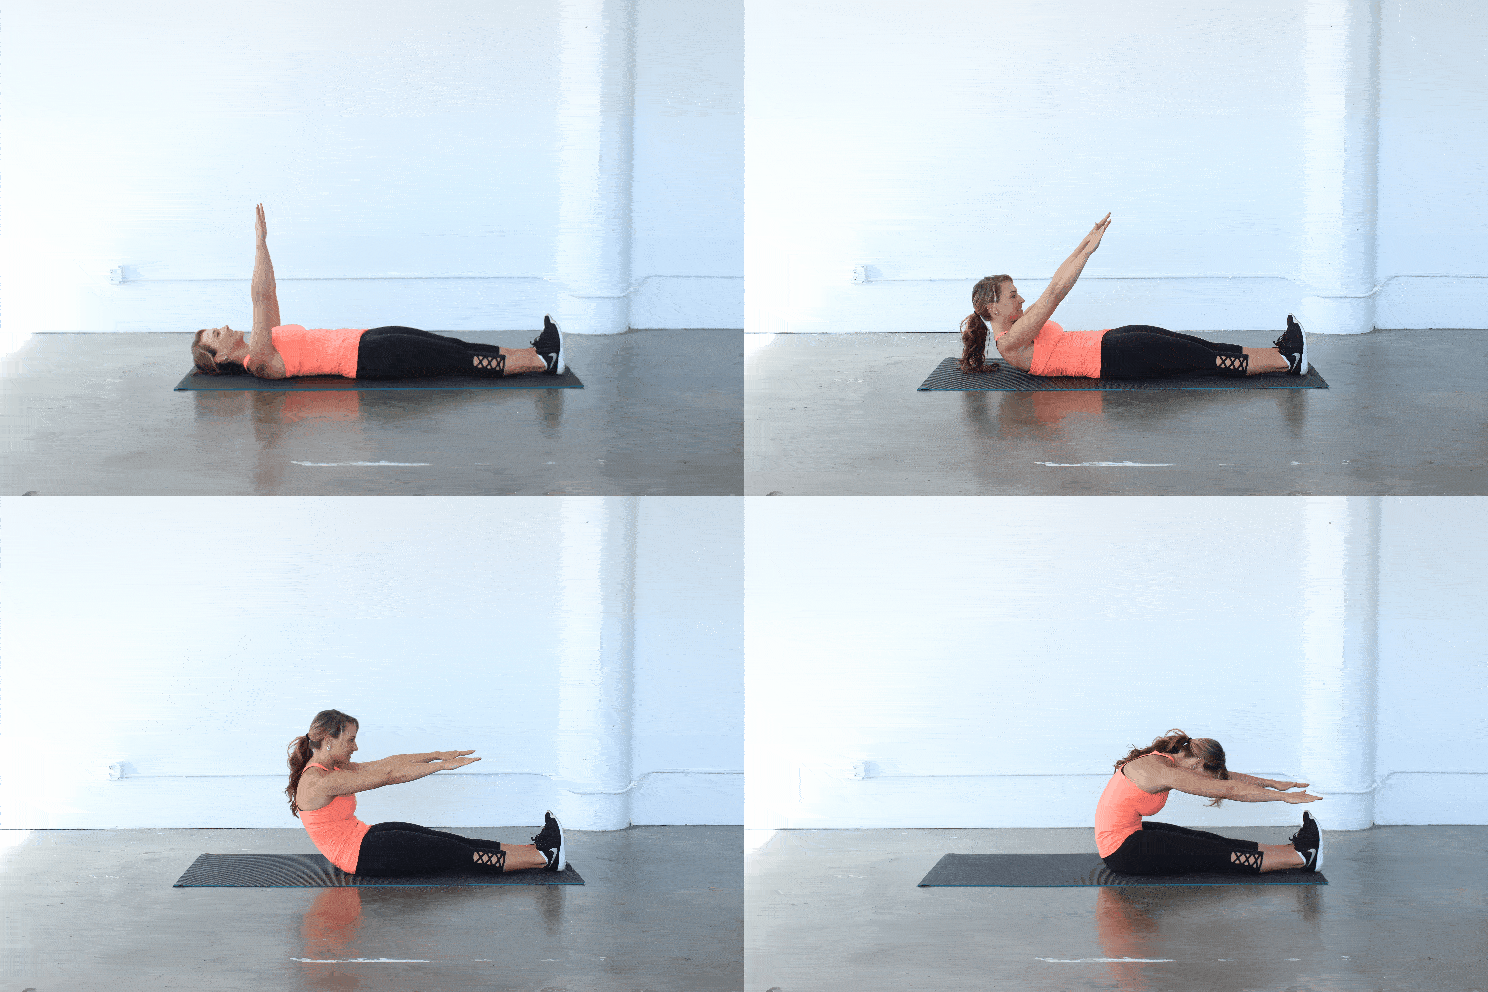
Lay on your back with your arms reaching overhead. Roll one vertebra at a time off the mat as you also lift the legs up, pulling the knees in towards the chest. Balance on your tailbone as you reach your arms towards your toes. Try to bring your shins parallel to the floor, and focus on lifting your chest and lengthening through your spine. Slowly, and with control, lower back down, one vertebra at a time. Repeat 6-8 times.
Roll Up
Toe Taps
Lay on your back with your arms by your sides, and you knees lifted over your hips at 90 degrees. Engage the lower abs to lower your RIGHT foot towards the floor, keeping that knee bent at 90 degrees. Pull the lower abs in to lift the knee back up over the hip. Repeat on the LEFT side, and complete 5-10 repetitions on each side.
Exercise: Toe Taps
Double Toe Taps
This is just the same as above, only this time keep the knees glued together. Focus on squeezing the knees together to really engage those lower abs. Make sure to use the lower abs to pull the knees back up.
Straight Leg Crunch
Lying on your back, extend your arms and legs straight up to the ceiling. Pull your navel into your spine and use your abs to lift your head, neck, and shoulders off the mat to reach the hands towards the feet. With control, lower your head back down. If you need more support for your neck, place your hands behind your head, but be sure not to pull on the neck.
Exercise: Straight Leg Crunch
Leg Lowers
Lay on your back and raise your legs into the air. With control, lower your legs towards the floor but keep the lower back glued to the mat. You don’t have to go down too far, just be sure to keep the abdominals engaged. Use the lower abs to pull those legs back up. Repeat for 10-15 repetitions.
Exercise: Leg Lowers
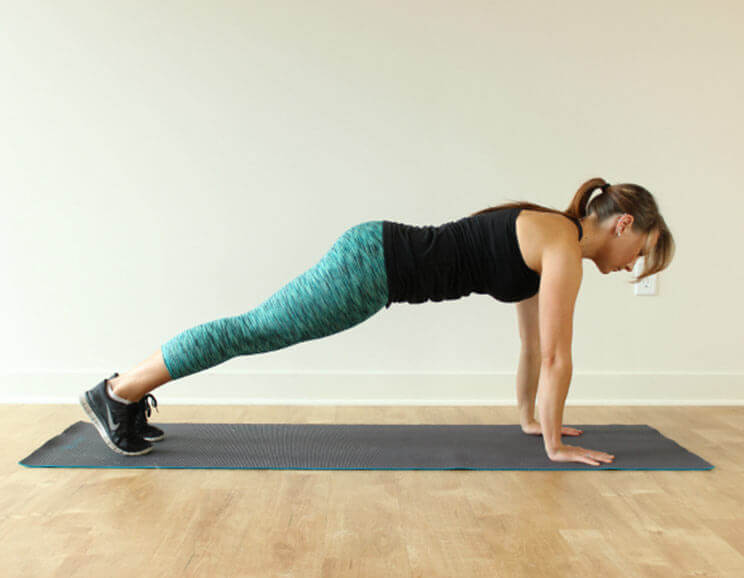
Plank
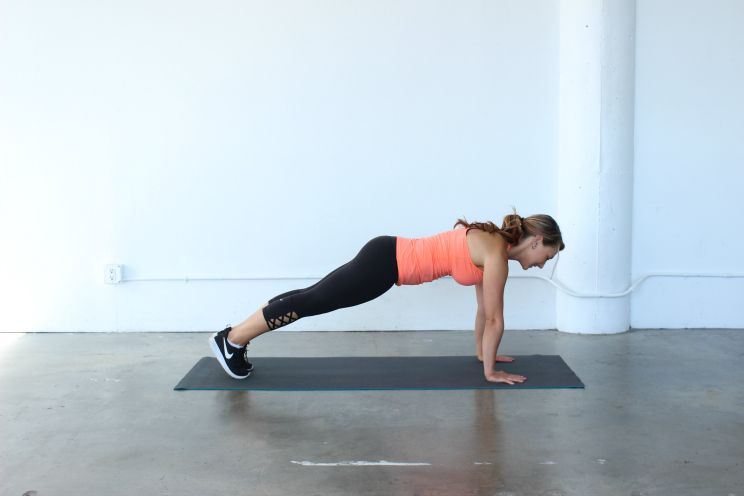
Exercise: Plank
Full Plank with Leg Lift
Starting in a full plank position on your hands, keep your hips steady and abs engaged as you lift one leg up, squeezing your glutes on that side. Hold for a second, and then switch to lift the other leg. The legs don’t have to lift very high, instead think about reaching them back and further away from you. Alternate for 10 repetitions on each side.
Exercise: Full Plank with Leg Lift
T – Rotations
Starting in a full plank position on your hands, rotate so that your weight shifts to your RIGHT hand as you lift your LEFT arm up in the air above your shoulder. Lower back down and place the LEFT hand back on the floor and rotate to the other side, lifting the RIGHT arm up. Make sure to keep your shoulders steady and don’t lift your hips too high.
Exercise: T – Rotations
Plank Jacks
Start in a plank position with your feet together, keeping the weight in your arms and your core tight. Jump your feet out wide so that they are wider than shoulder-width apart. Quickly jump your feet back together as if you were doing regular jumping jacks. It’s important to make sure your hips don’t lift too high or sag too low during this exercise, so keep those abs tight! Complete 30-60 seconds.
Exercise: Plank Jacks
Military Planks
Start in a plank on your elbows with feet shoulder-width apart. Starting with the RIGHT side, lift the elbow up and place the hand where the elbow was. Press through the RIGHT arm to raise up to a full plank on your hands and straighten the left arm. Lower back down to the elbows by placing the RIGHT elbow back in the place on the hand, and follow with the left arm. Repeat for 10 repetitions leading with the RIGHT arm, then switch and complete 10 with the left.
Exercise: Military Planks
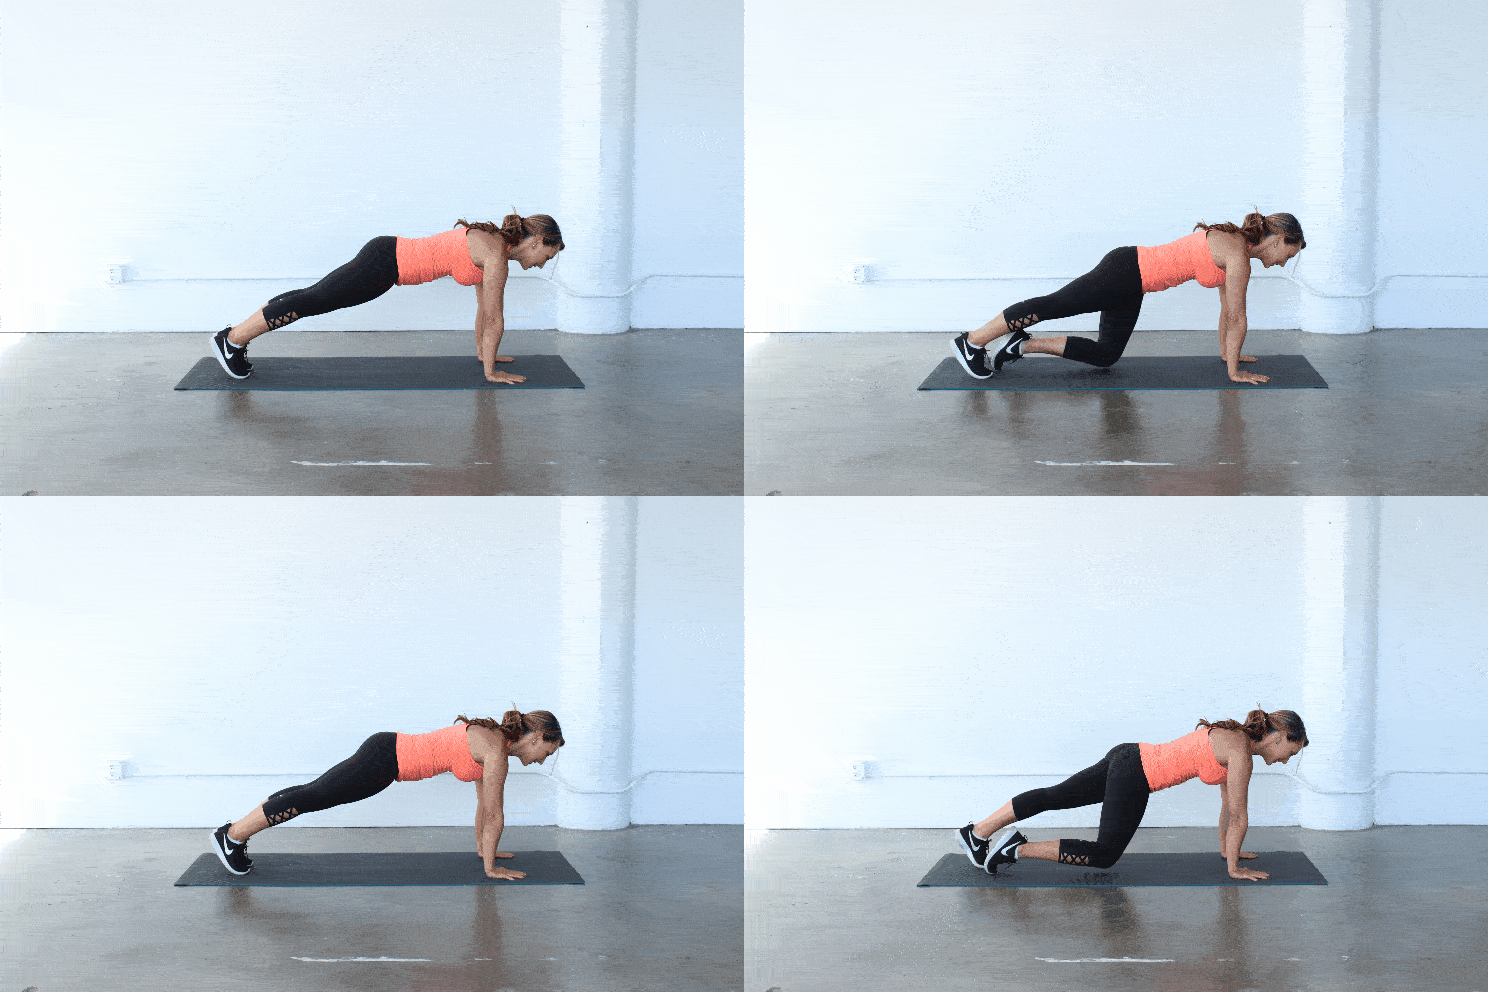
Plank Double Knee Taps
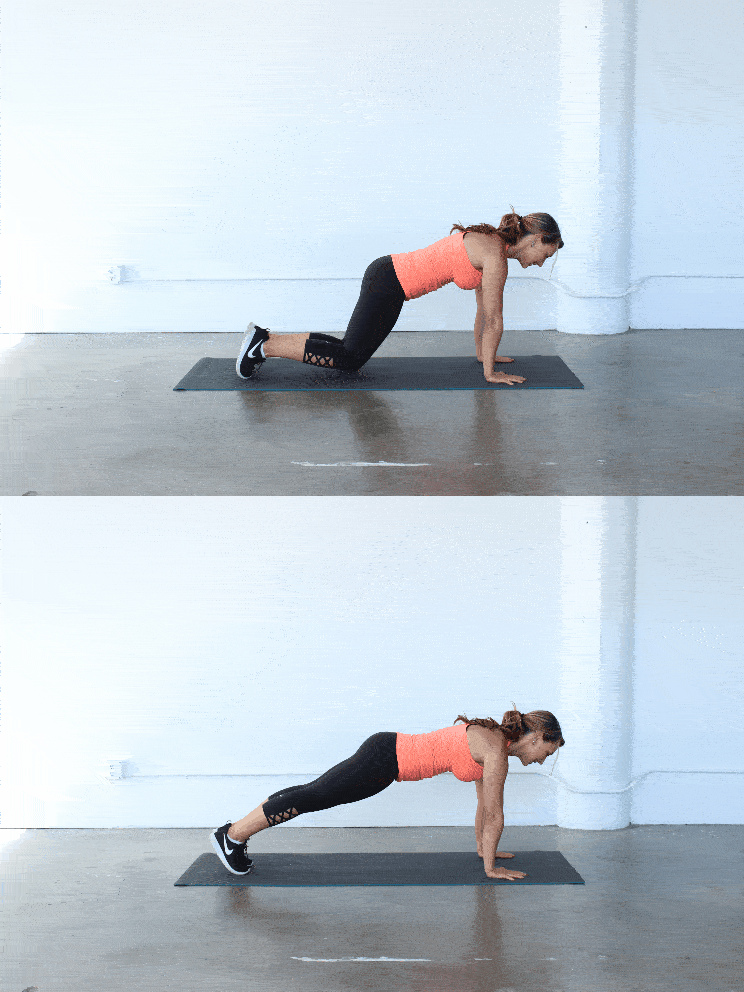
Plank Single Knee Taps
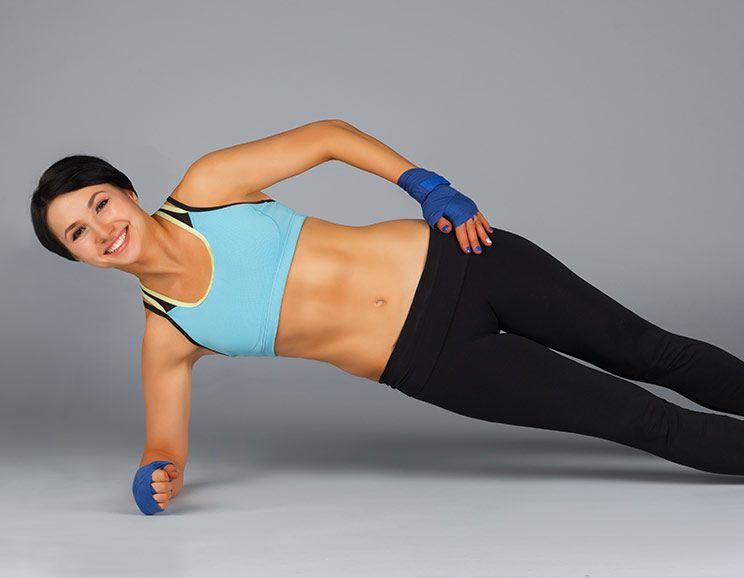
Side Plank
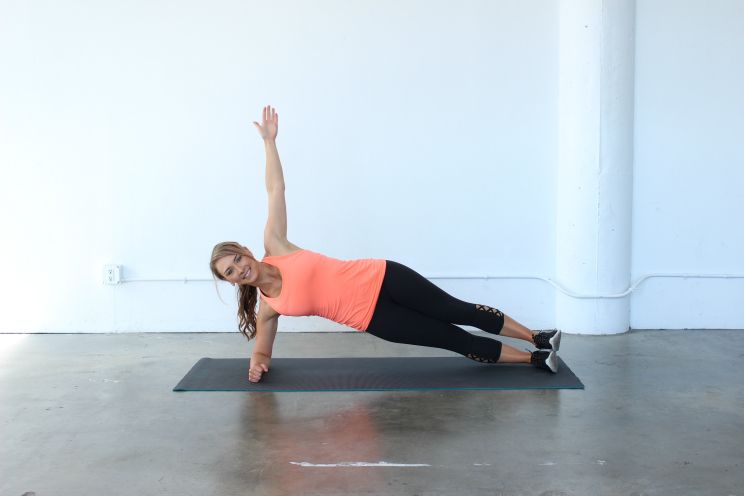
Side Plank Hip Lift
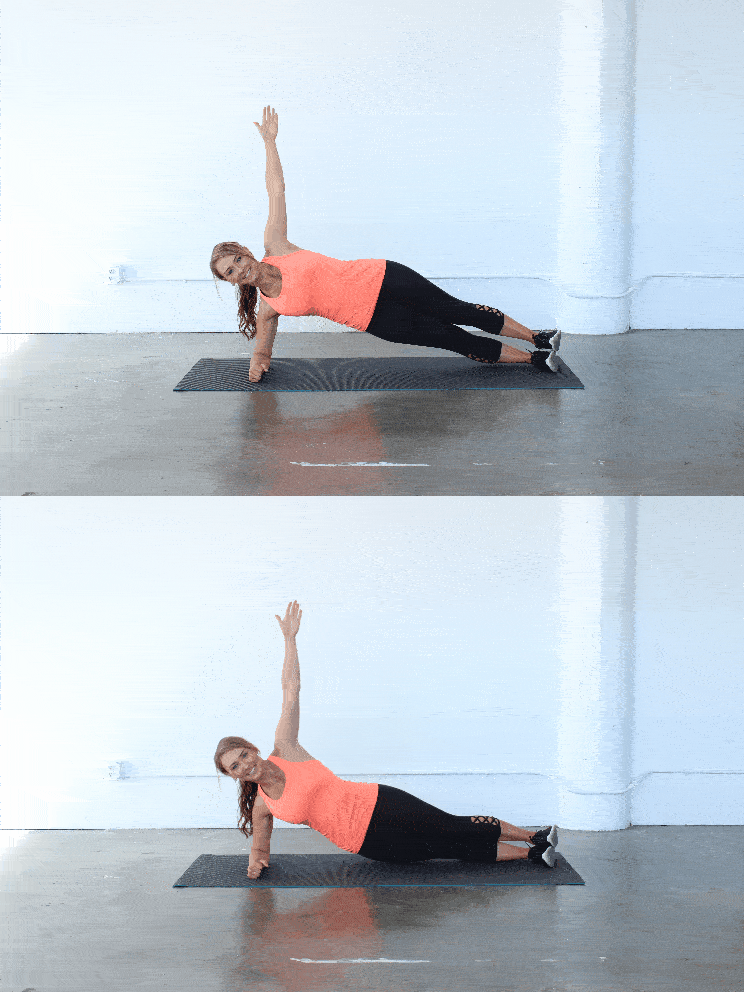
Side Plank Twists
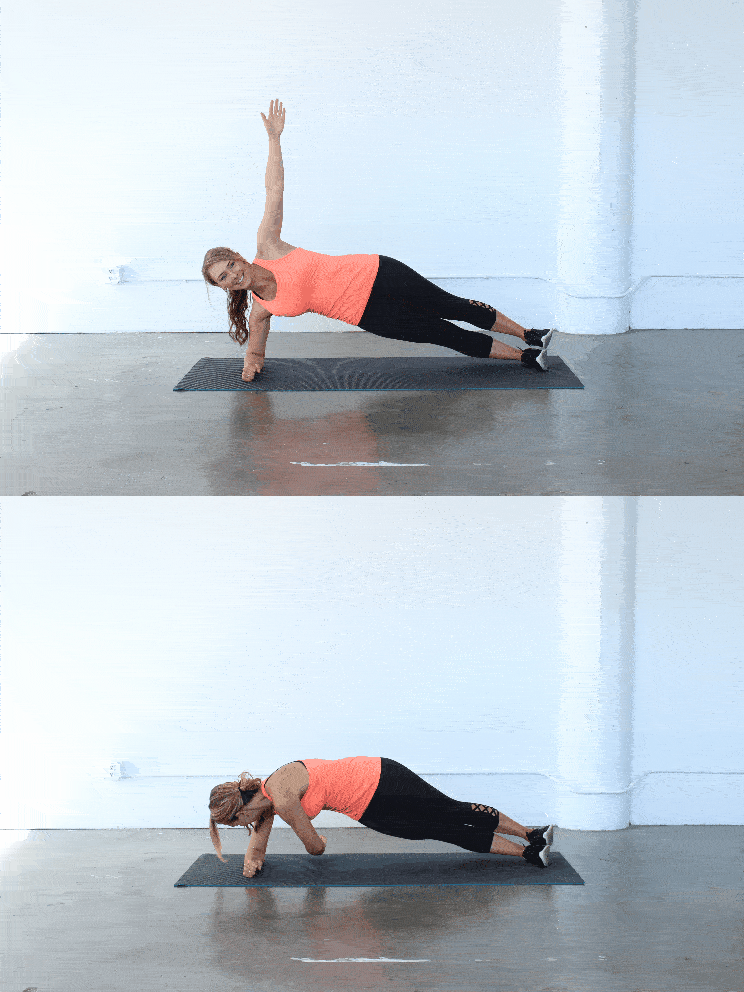
Side Plank with Abduction
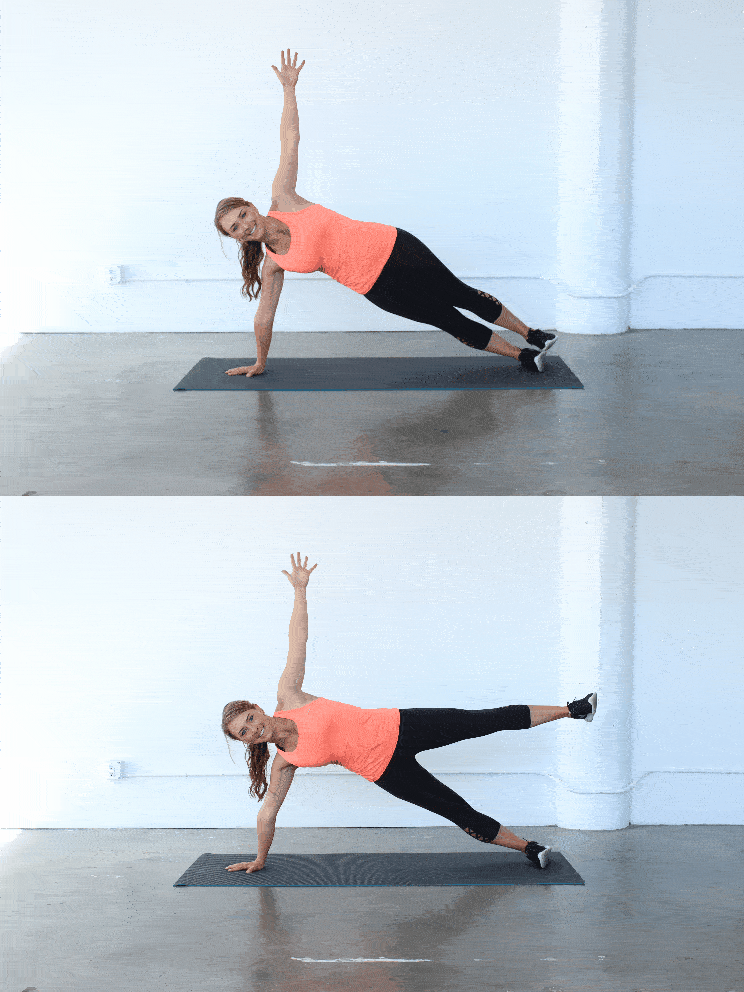
Exercise: Side Plank with Abduction
Side Plank Crunch
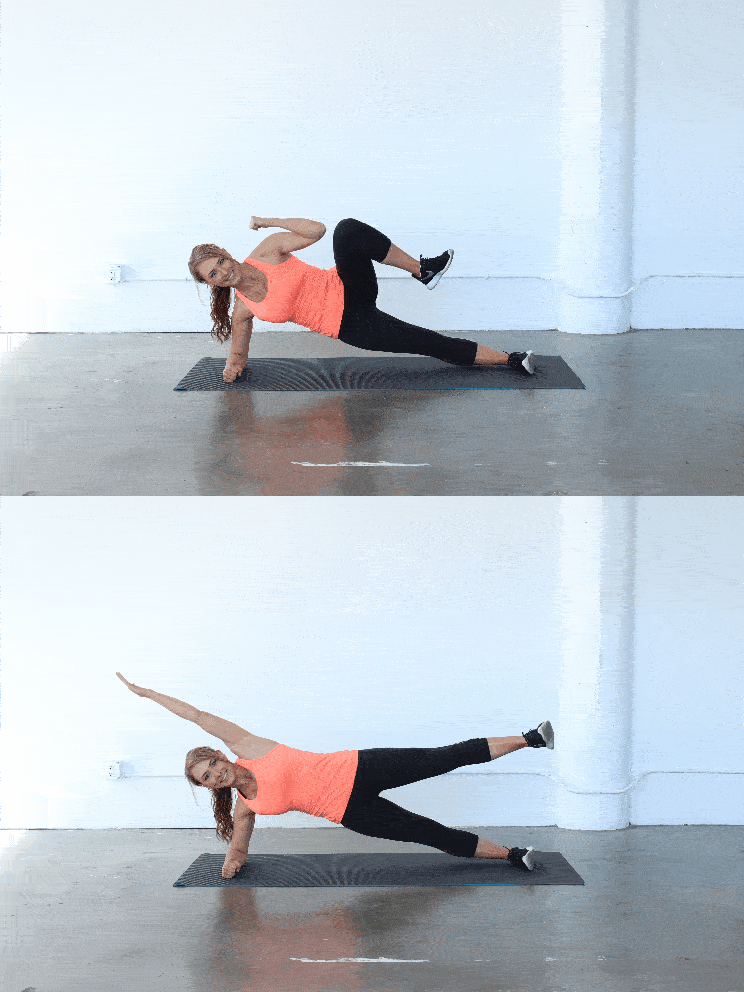
Windshield Wipers
Lay on your back with your arms out in a “T” position and your legs extended straight up to the ceiling. Engage your abdominals and keep your shoulders glued to the floor as you let your legs drop over to the RIGHT a few inches, allowing your left hip to come slightly off the ground. As you feel like you just start to lose control, use your LEFT side obliques to pull the legs back up to the center, straight up. Repeat on the other side for one full repetition, and complete 10 repetitions total.
Exercise: Windshield Wipers
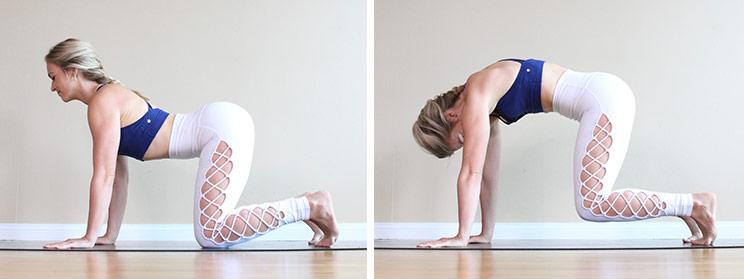
Bird Dogs
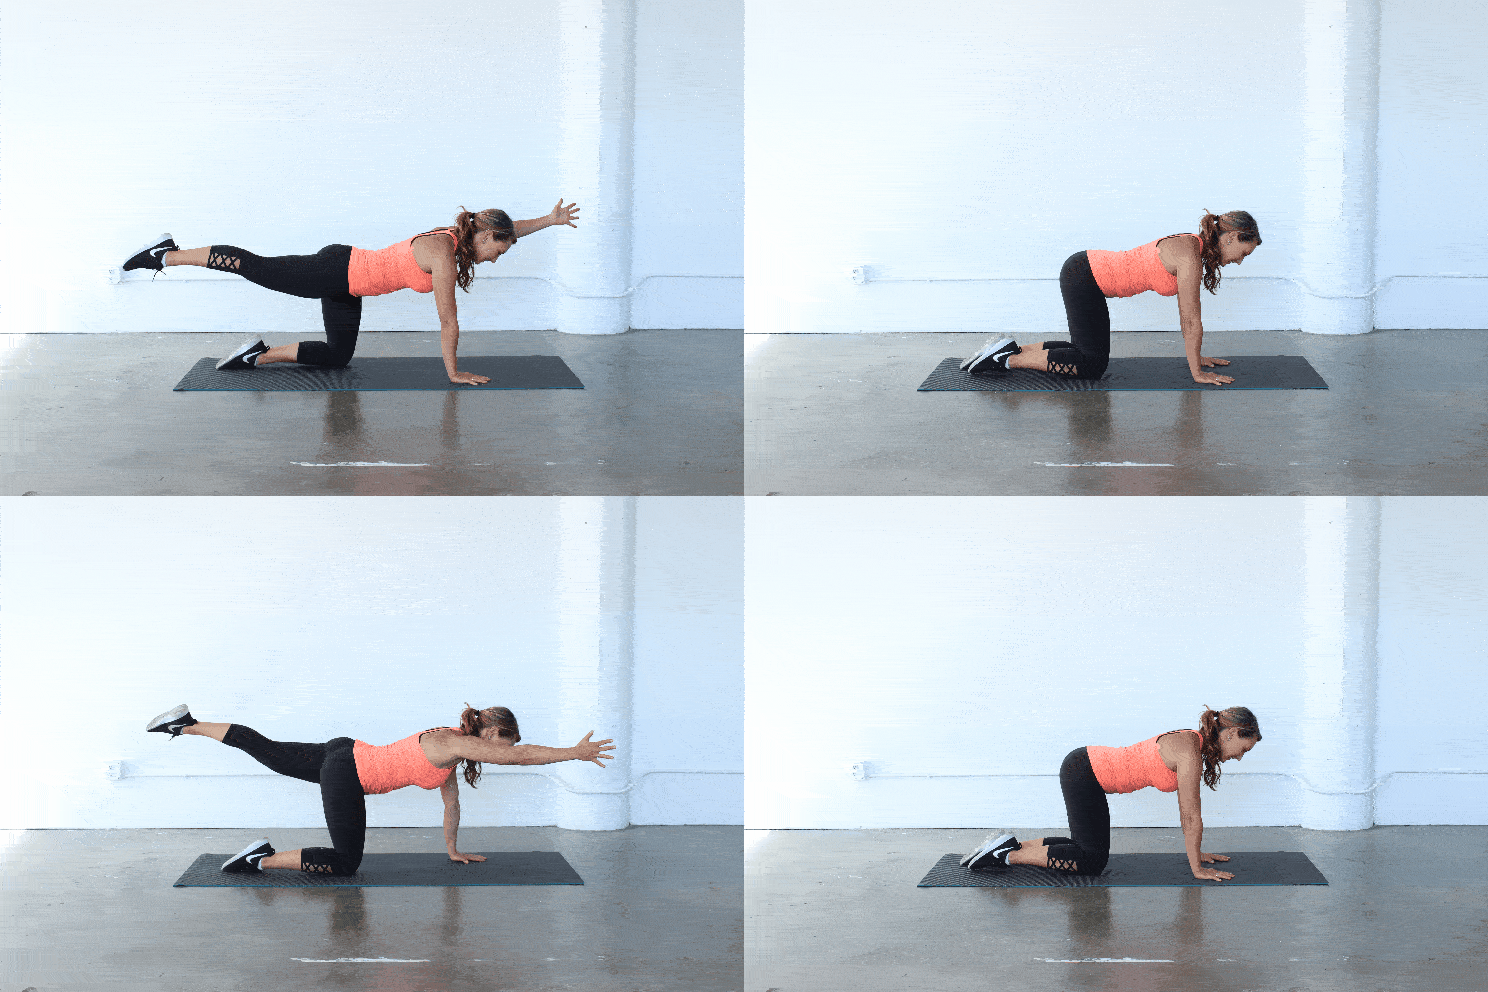
Exercise: Bird Dogs
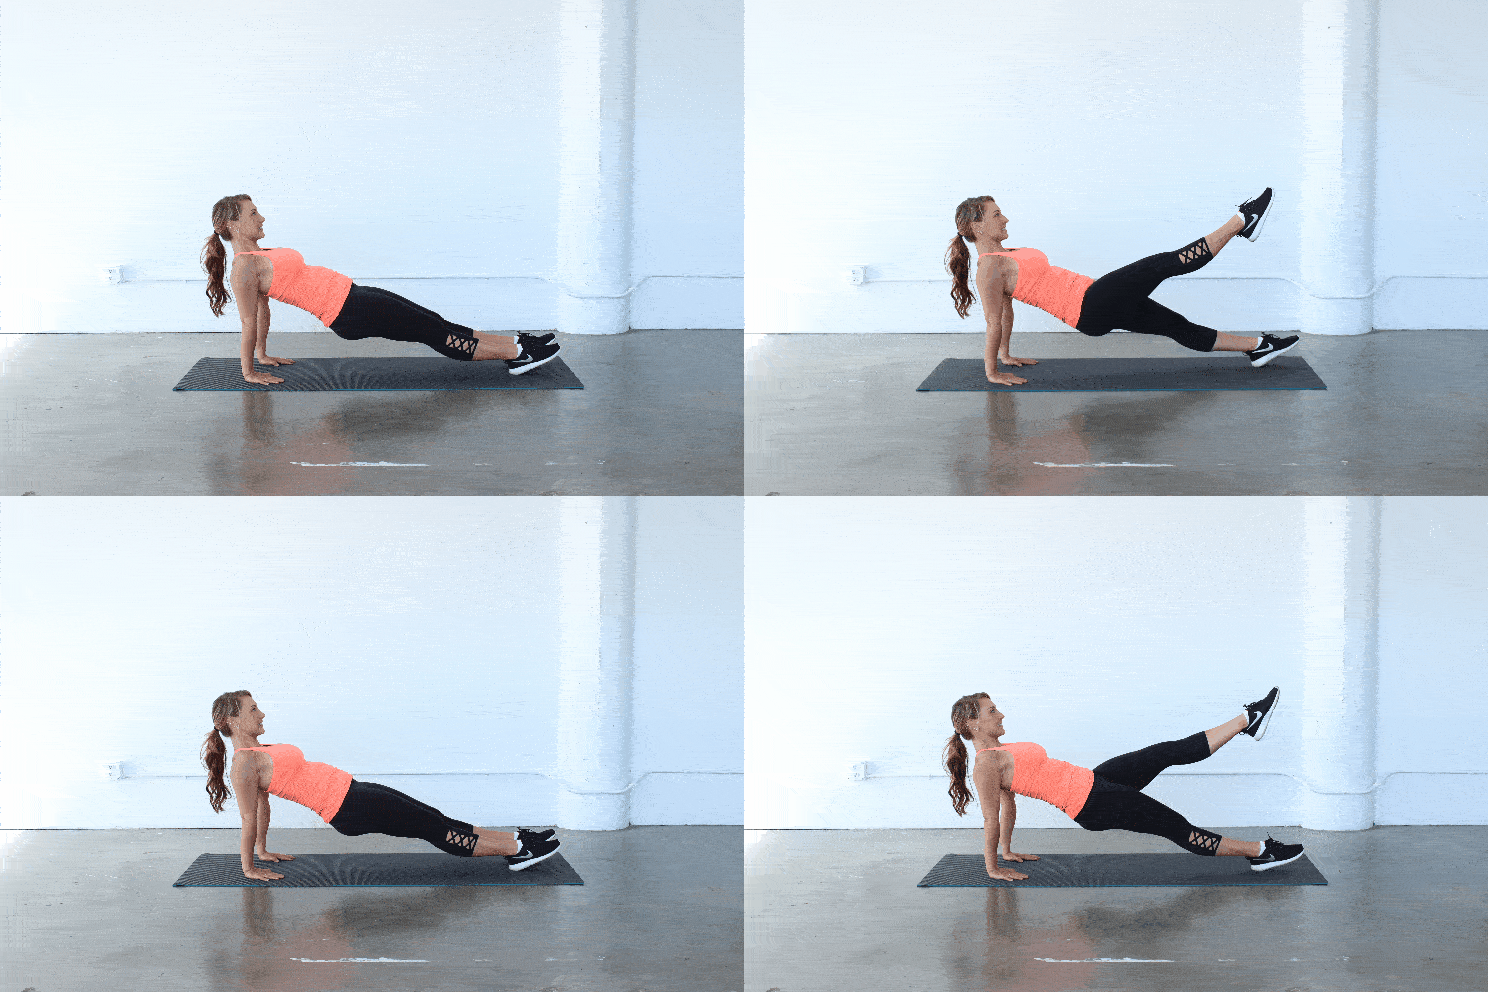
Reverse Planks
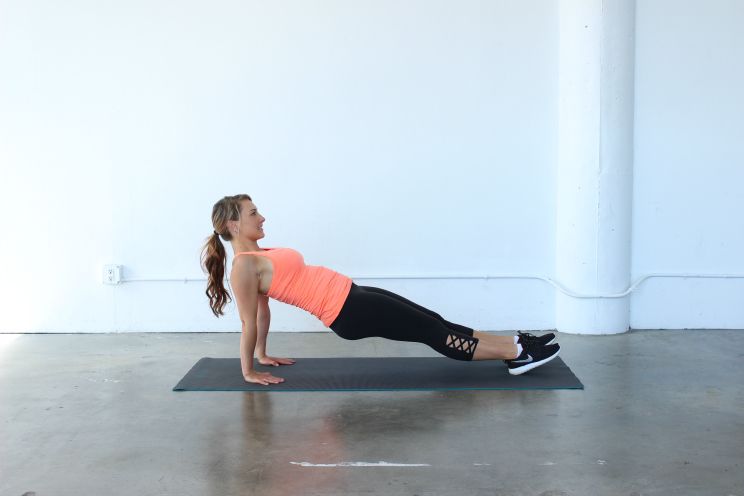
Reverse Planks with Leg Lifts
Burpees
Start by standing with feet together. Lower into a deep squat position to bring your hands down to the floor. Jump your legs backwards into a full plank position on your hands. Jump your feet back into your low squat position and jump up, reaching your hands overhead. Complete 10-20 burpees.
Exercise: Burpees
Mountain Climbers
Start in a plank position on your hands. Keeping your abs engaged and your shoulders directly over your hands, drive your RIGHT knee in towards your chest, using your abs to pull it in. Quickly reach that leg back and drive your LEFT knee in towards your chest. Go as quickly as you can while maintaining abdominal strength. Complete for 30 seconds to a minute.
Exercise: Mountain Climbers
Twisting Mountain Climbers
Do these just as you would normal mountain climbers (above), only this time as you drive the knee in towards the chest, rotate it to the opposite elbow to engage the obliques. Complete 30-60 seconds.
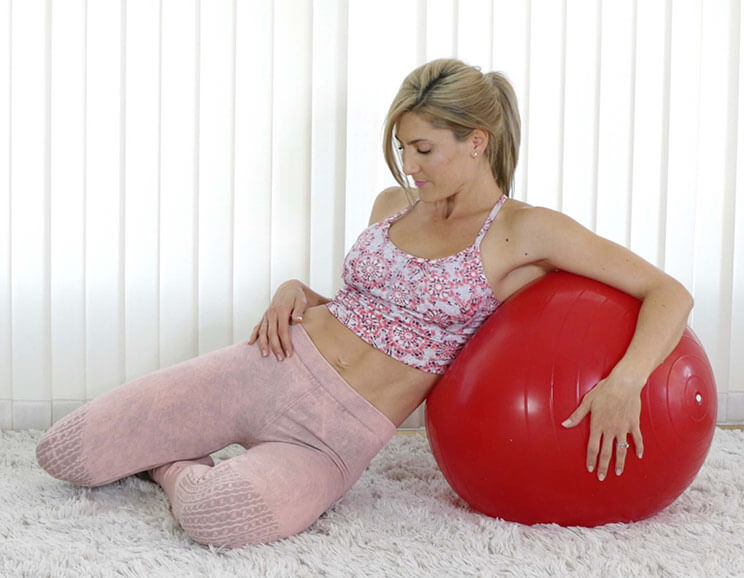
Stability Ball Crunch
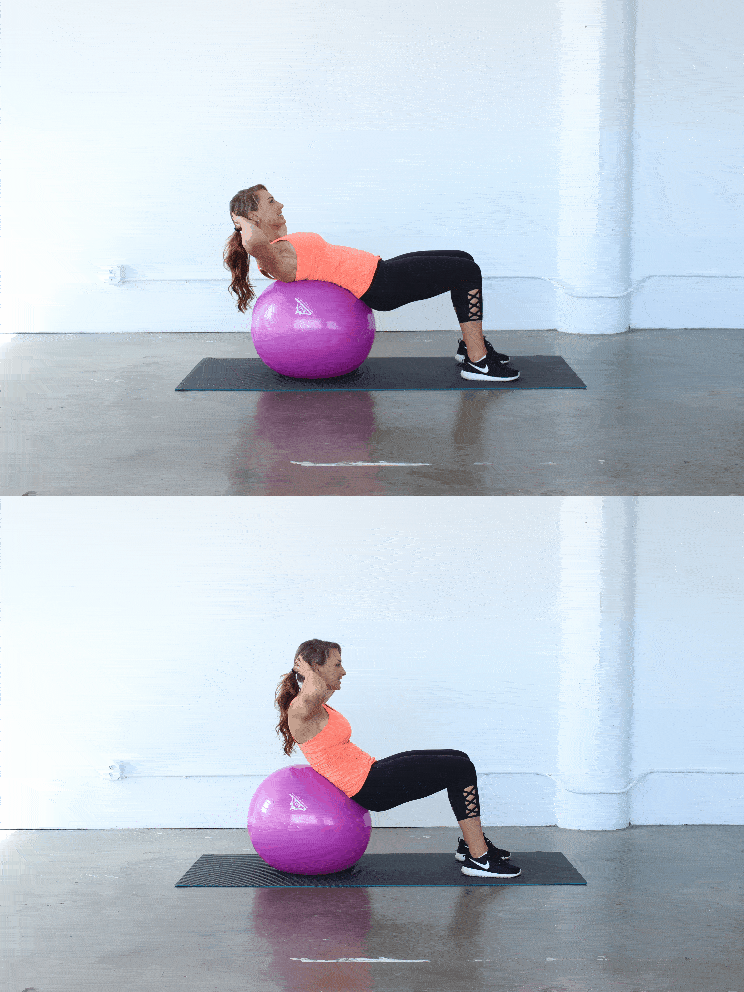
Exercise: Stability Ball Crunch
Stability Ball Oblique Crunch
Begin just as you did for the Ball Crunch mentioned above, only this time as you left the head and the chest, rotate to the RIGHT. Focus on bringing the LEFT ribs to the RIGHT hip and keeping your feet planted firmly. Lower back down to the center and repeat to the LEFT. Complete 10 repetitions on each side.
Exercise: Stability Ball Oblique Crunch
Russian Twists on the Ball
Have a seat on your stability ball and roll out so that your head and shoulders are on the ball and your hips are lifted. Clasp your hands together with a 5-10 pound dumbbell in between them if you desire, and your arms straight up to the ceiling. Keep your feet steady as you rotate your torso, shoulders, and your arms to the RIGHT. Engage your LEFT obliques to pull yourself (and the weight) back up to the center. Repeat to the other side, engaging the RIGHT side obliques to come back up. Complete 10 repetitions on each side.
Exercise: Russian Twists on the Ball
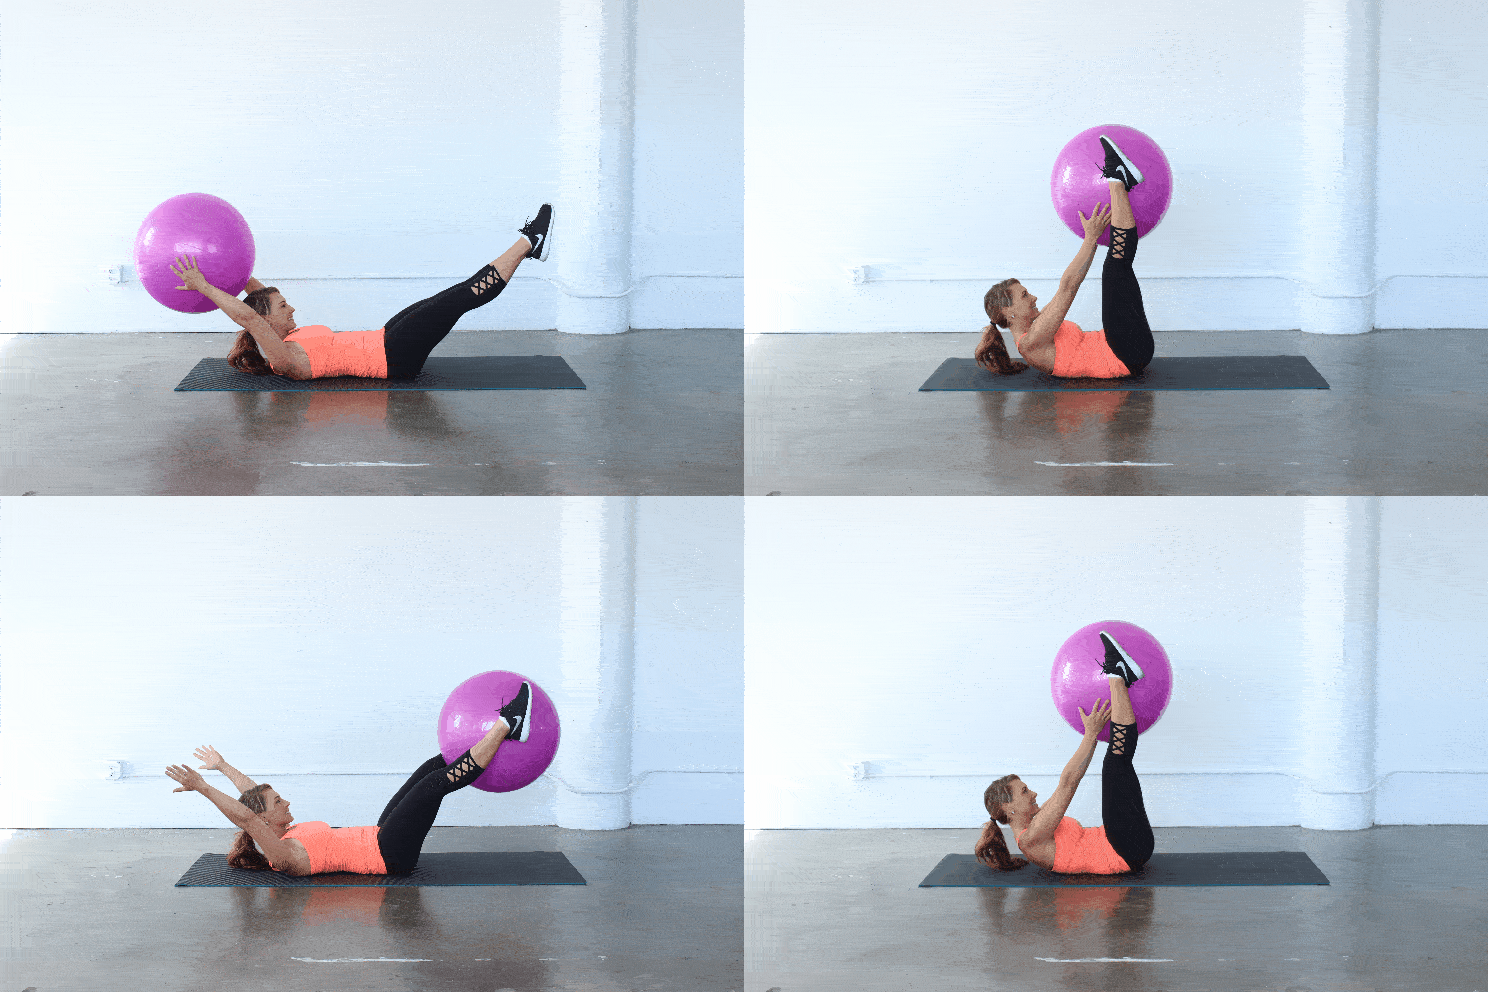
Stability Ball Pass
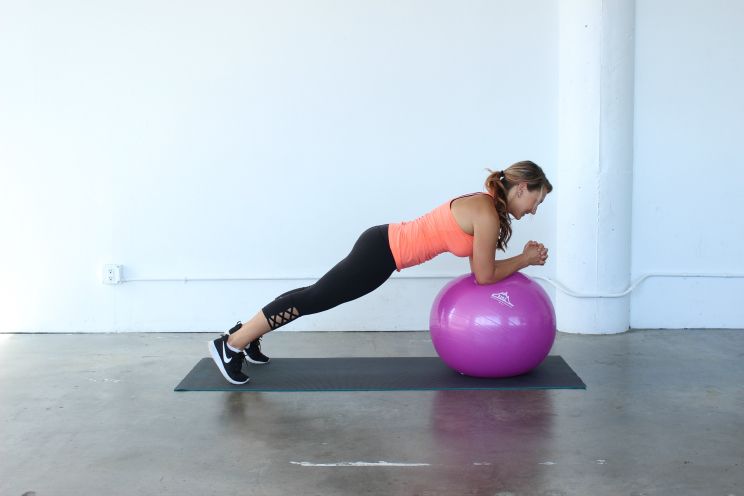
Stability Ball Plank (Elbows on the Ball)
Stability Ball Plank (Feet on the Ball)
This is the reverse plank from above. Start by placing your stomach over the ball with your hands down on the mat. Engage your abs as you walk your hands out in front of you to bring the ball on your thighs or shins. Make sure you don’t let your hips drop, and keep your navel pulled into your spine the entire time. Hold the plank for 30-60 seconds, and then walk your hands back towards the ball to come out of your plank.
Stability Ball Tuck
Bring yourself back into a plank position on the stability ball. Making sure to keep your shoulders steady over your hands, use your lower abs to pull your knees in towards your chest. Extend your legs back straight, making sure not to lower the hips too much, and repeat for 10-15 repetitions.
Exercise: Stability Ball Tuck
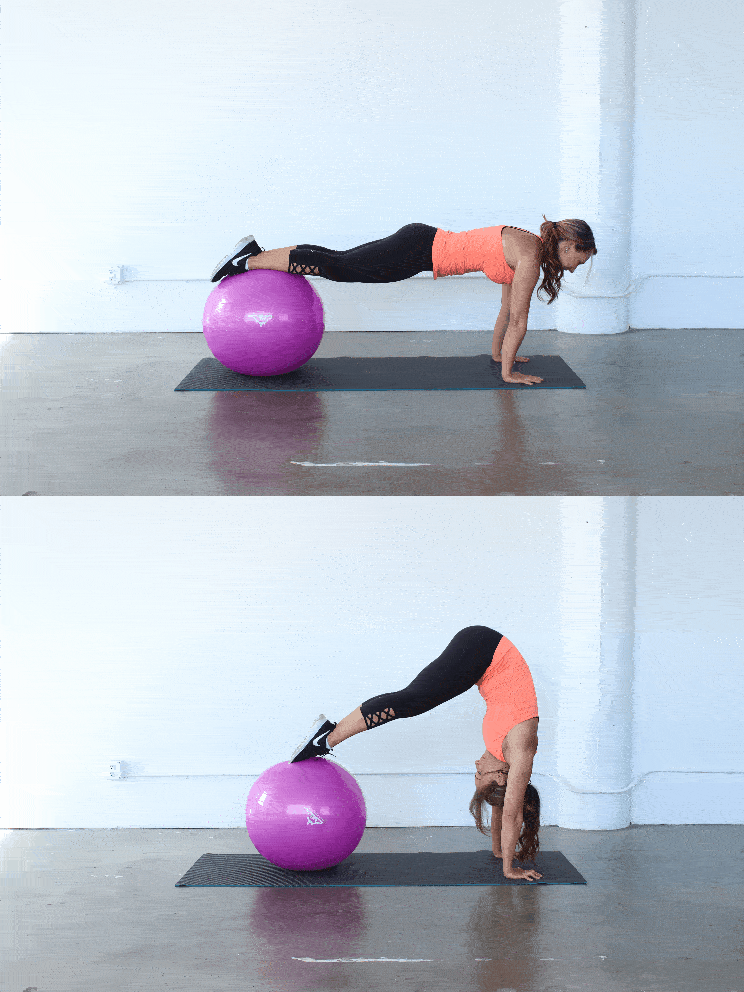
Ball Pikes
Inchworms
Start by standing at the end of your mat with your feet hip-distance apart. Bend forward to reach your hands to the mat in a forward fold, reaching your hands flat on the mat (your knees may bend slightly). Walk your hands out about a foot at a time all the way out into a full plank position. Hold in the plank for a second or two and walk your hands all the way back into the forward fold. Repeat for 10-15 repetitions.
Exercise: Inchworms
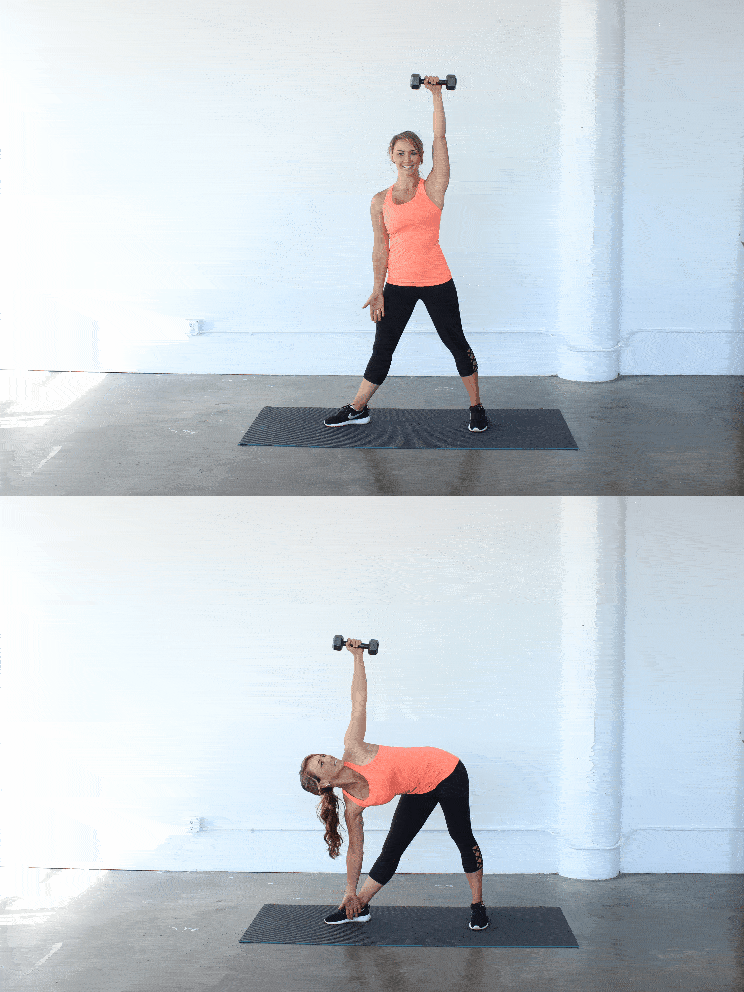
Windmills
Supermans
Lay on your stomach on your mat, extend your arms over your head with your palms facing down. Reach the crown of your head forward and let your nose hover an inch off the ground. Draw your shoulder blades down your back as you lift your arms and legs a few inches off the ground. Think about squeezing your glutes and pulling your shoulders together to engage your entire back. Lower your arms and legs, and repeat.
Exercise: Supermans
Hanging Abs
Hold on to a chin-up bar so that your feet are hanging just off the ground. Use the lower abs to pull the knees in towards your chest, and then lower back down with control. Complete 10-15 repetitions.
Exercise: Hanging Abs



 Grain-Free Pineapple Fried Rice

Show Comments