To get relief from neck and shoulder pain, stiffness, or knots, use this DIY Epsom salt compress coupled with a soothing stretch.
There’s more to using Epsom salts than tossing some in the bath! Here’s how to make your own Epsom salt compress to take your stretching routine to the next level.
But first, let’s go over what Epsom salt is and how it works.
Suffering from a sore neck, back and shoulders? Get our mobility guide to ease pain and soreness.
Get The FREE Mobility Guide To Fix Your Pain Today!
What is Epsom Salt?
Believe it or not, Epsom salt is not actually a salt. It’s derived from the naturally occurring minerals magnesium and sulfate, so its chemical makeup is different from table salt! While regular salt dries the skin and leaves a white residue, Epsom salt is very soothing to the skin and leaves no residue at all.
Epsom salts have been used for centuries in aiding with muscle recovery and healing of minor sprains and bruises. Experts say that the organic magnesium and sulfate found in Epsom salts can be absorbed through the skin to help with muscle and joint recovery. (1)
How is Epsom Salt Used?
Athletes use Epsom salt as a soaking aid for muscle recovery, minor sprains, and bruises, or overall relaxation. It’s mixed with warm water to dissolve and make a soaking solution.
The most common way to use it is by soaking in an Epsom salt bath, but you can also use Epsom salt to make a compress to soothe muscle knots in specific areas.
If you experience any pain in your neck and shoulders, give this Epsom salt compress and upper body stretch a try!
How to Create an Epsom Salt Compress
DIY Epsom Salt Compress


DIY Epsom Salt Compress
Tools
- Large bowl
- Clean dish towel or hand towel
Ingredients
- 2 cups hot water
- ¼ cup Epsom salt
Instructions
- Fill a bowl with hot (but not boiling) water.
- Add the Epsom salt and stir to dissolve.
- Fold a clean towel into thirds lengthwise.
- Soak the towel in the Epsom salt water, then wring the towel to squeeze out the excess moisture so that it’s damp, but not dripping.
- Apply to the affected areas and stretch while relaxing.
Pair Your Compress with These 6 Soothing Neck + Shoulder Stretches
Shoulder Stretch

- Place the compress on top of your left shoulder.
- Straighten your left arm and sweep it across your chest.
- Pull your left elbow towards you with your right hand to feel a stretch across your shoulder.
- Tilt your head towards the right to lengthen that side of your neck and further stretch that shoulder.
- Take 5 deep breaths as you hold and enjoy the stretch.
- Switch the compress to the right and repeat on the other side.
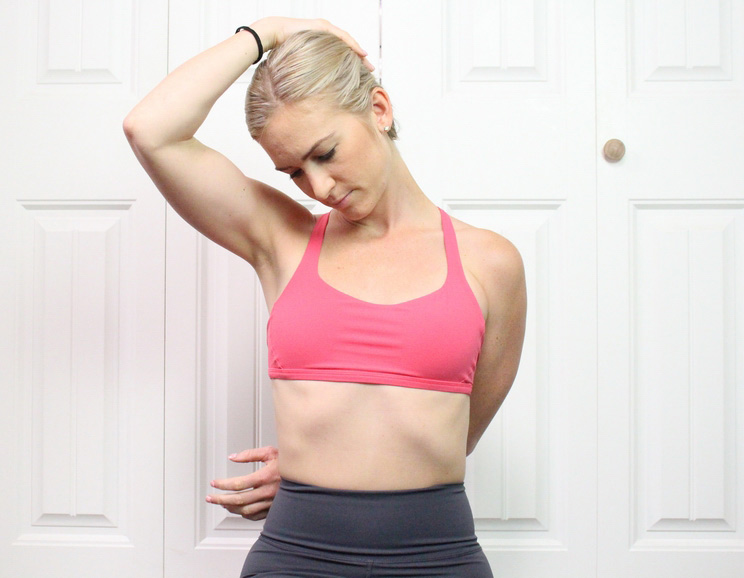
Tricep Stretch

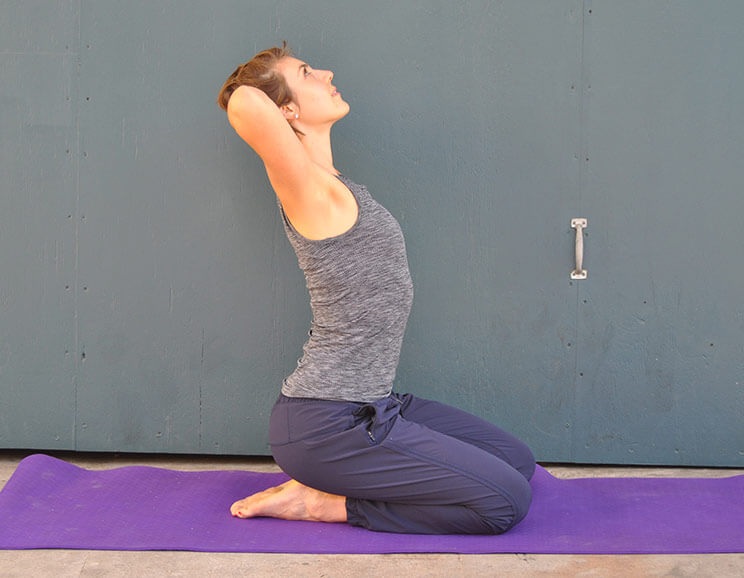
- Lift your left arm straight up and bend your elbow to place your hand behind your neck.
- Position the compress along the back of your tricep.
- Hold onto your left elbow with your right hand and pull it closer to your midline.
- Lean slightly towards the right to intensify the stretch.
- Take 5 deep breaths as you hold and enjoy the stretch.
- Switch the compress to the right and repeat on the other side.
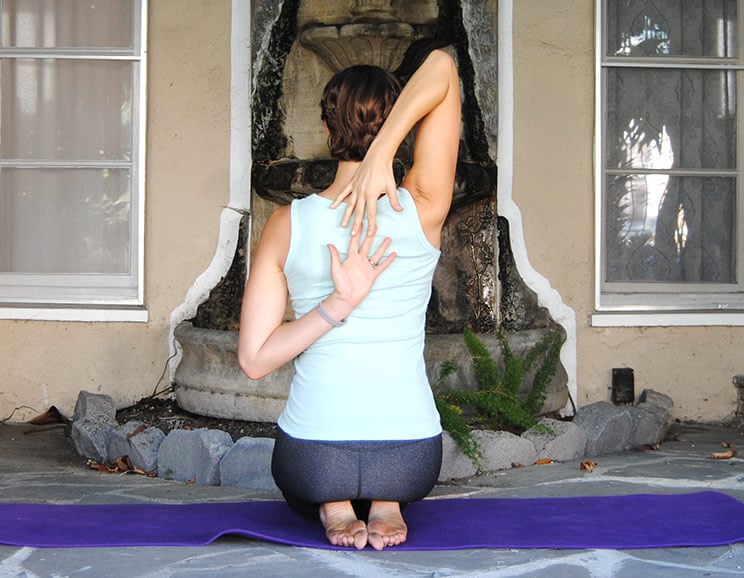
Hands Interlocked Behind Back

- Lay the compress over the top of your shoulders.
- Interlock your hands behind your back with your thumbs pointing down.
- Straighten your arms and roll your shoulders back and down.
- Take 5 deep breaths as you hold and enjoy the stretch.
Elbows on Back of Chair Stretch

- Lay the compress over the back of your shoulders.
- Step behind a chair and place your elbows on the top edge.
- Bend your elbows and place your palms together behind your head.
- Lower your head between your arms and press your chest towards the ground.
- Take 5 deep breaths as you hold and enjoy the stretch.
Single Arm Back of chair Shoulder Extension
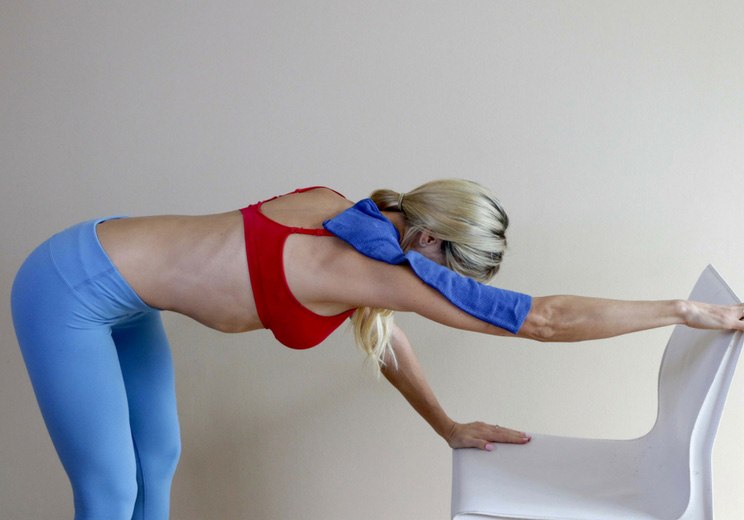
- Lay the compress over the top of your right shoulder.
- Turn the chair so it’s facing you.
- Grab onto the upper right corner of the chair’s back with your right hand.
- Place your left hand on the seat of the chair for stability.
- Stretch your right arm straight and look down.
- Take 5 deep breaths as you hold and enjoy the stretch.
- Switch the compress to the left and repeat on the other side.
Side-to-Side Neck Rolls
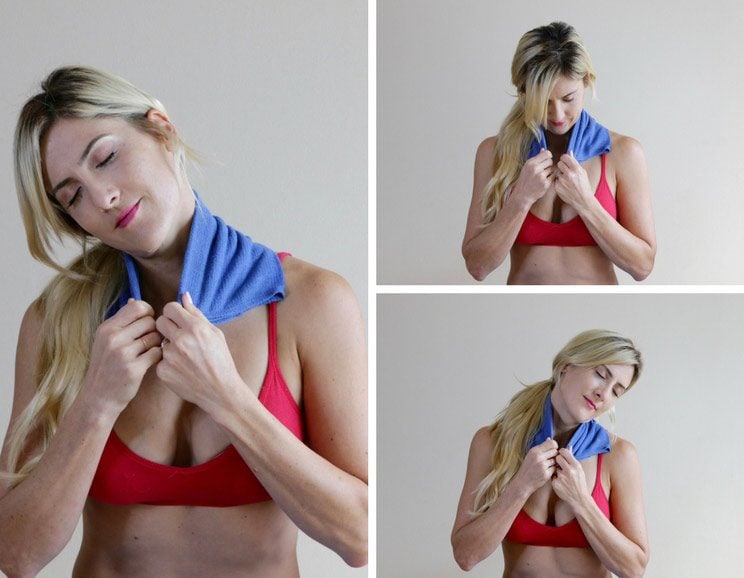
- Place the compress around your neck and gently hold the ends with your hands. Do not pull or tug on the towel.
- Keeping the compress in place, tilt your head to one side, then roll forward and through to the opposite side.
- Repeat rolling from one side to the other and perhaps even some full circles.
- Breathe deeply for 5 breaths as you enjoy the stretch and relaxation.
If the towel starts to feel dry or has cooled off during any of the stretches, simply re-soak it and wring it out again.
This routine can be used as often as needed to relieve knots or tightness in your neck, arms, and shoulders.

(Your Next Workout: 7 DIY Neck Massages and Stretches)


 Instant Pot Garlic Lemon Chicken with Zucchini Noodles


Show Comments