Whether you’re sitting at a computer all day or going all-out in the gym, your back muscles often take a beating. Aside from resulting in a few knots, back pain can significantly hinder your performance at work, your recovery time, and your workouts.
Luckily, there’s an inexpensive solution, which can be done practically anywhere: foam rolling.
Why Foam Roll?
Foam rolling is essentially a do-it-yourself massage and is great for cramped back muscles from workouts or too much sitting. It’s often used by physical therapists and athletes to break down fibrous tissue (hello knots!), improve circulation, and relieve adhesions (that create points of weakness in your tissues). It also has been found to reduce delayed-onset muscle soreness and increase range of motion (1).
Suffering from a sore neck, back and shoulders? Get our mobility guide to ease pain and soreness.
Get The FREE Mobility Guide To Fix Your Pain Today!
Common Foam Rolling Mistakes
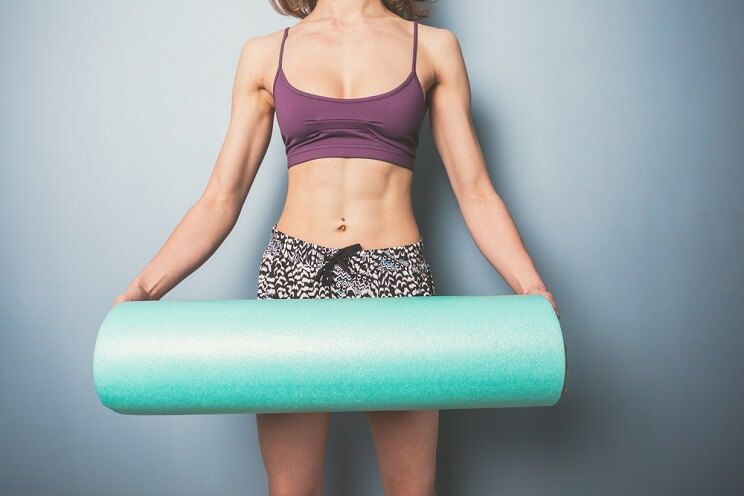
Below are some common mistakes to avoid:
Rolling Too Quickly
A common mistake with foam rolling is rolling too fast. It might feel great at first, but ultimately, it does little to eliminate adhesions. Instead, go slower on your rolls, so your muscles have time to adapt to the change in compression—then start to relax.
Rolling Directly (and Only) Onto Pain Sites
It may be tempting to roll directly onto a pain site, but the site of tension is usually the result of an imbalance elsewhere. That’s why it’s recommended to roll a few inches around the site of pain, then use large sweeps over the entire area.
Foam Rolling Exercises for Back Pain
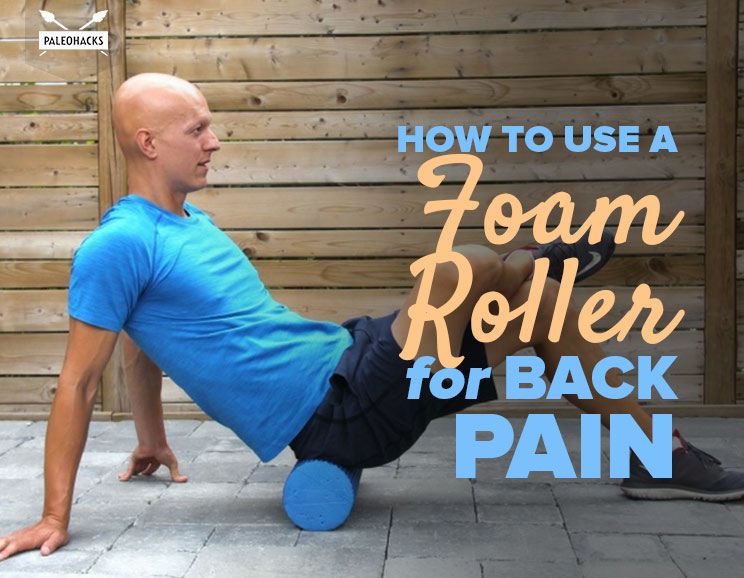
With this concept in mind, here are five foam-rolling exercises that will help ease your back pain:
1. Glute Roll
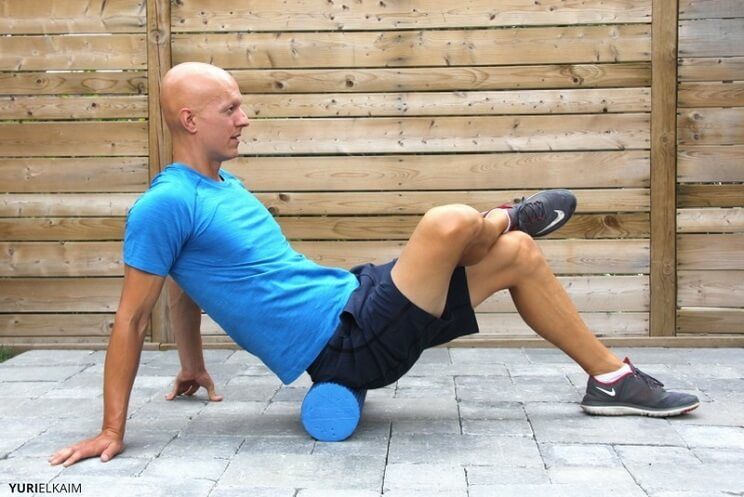
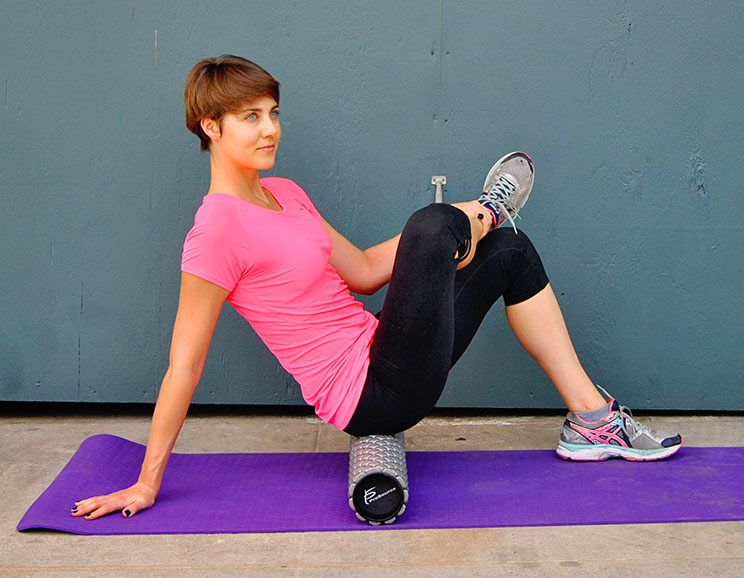
The piriformis is a muscle located deep within the glutes. It connects to the lower back, and makes rolling this area an excellent way to indirectly relieve lower back pain.
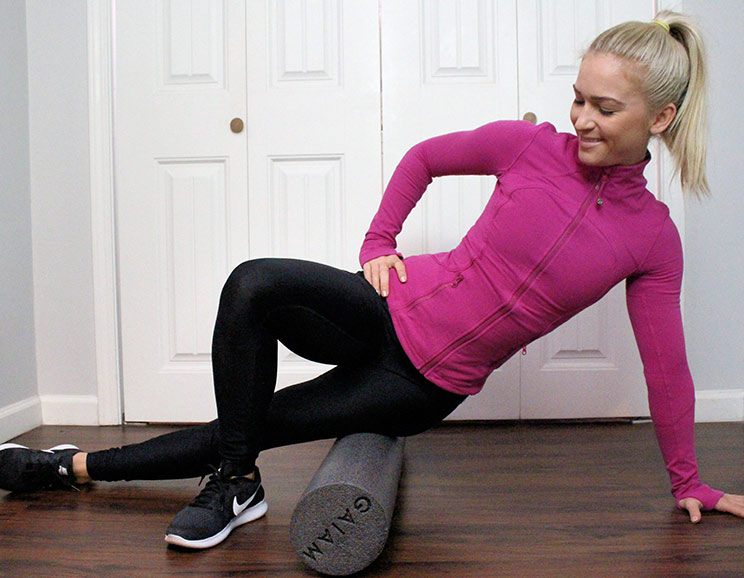
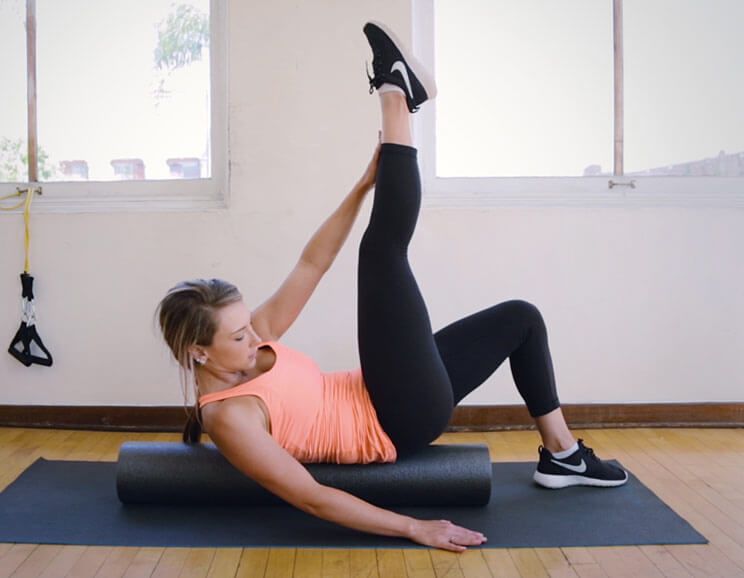
To get started, place the foam roller under your glutes. Bring your right leg up, and rest your right ankle above your left knee. Slowly roll through your right hip and glute, then repeat on the other side.
2. Upper Back Roll
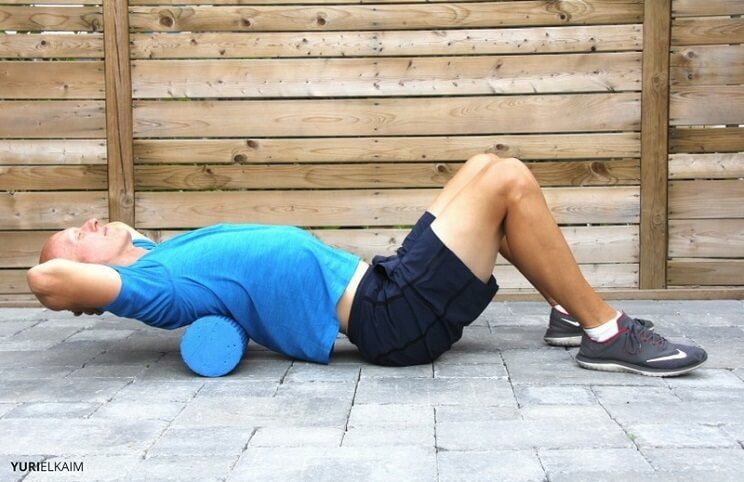
At work, do you sit at a desk all day? If so, upper back stiffness, knots, and bad posture have surely crept in at some point. This roll is excellent for massaging out those kinks.
To begin, lie back on your roller—with it positioned at your mid-back. Crossing your arms over your chest—with your butt still touching the ground—extend back over the roller. Try touching the top of your head to the ground behind you. You can progress, moving the roller higher until your reach your mid-upper back.
3. Chest Roll
It might seem pointless to be rolling out the chest muscles, when you’re experiencing tightness in your upper back. But it’s essential to truly correct the source of the stiffness. Upper back and shoulder pain are often experienced, due to shortened, tense chest muscles—caused by rounding over toward the computer all day. They make you feel like the problem is your shoulders..
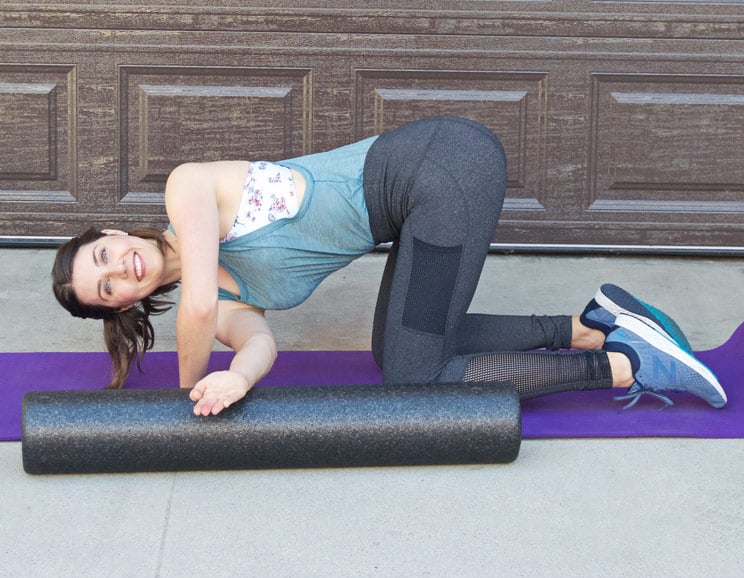
To perform the chest roll, lie face-down—with your roller position just below your armpit, and one arm extended forward. Press your chest into the roller, roll back and forth, and repeat on the other side. Women should be careful to avoid breast tissue.
4. Lat Rollout
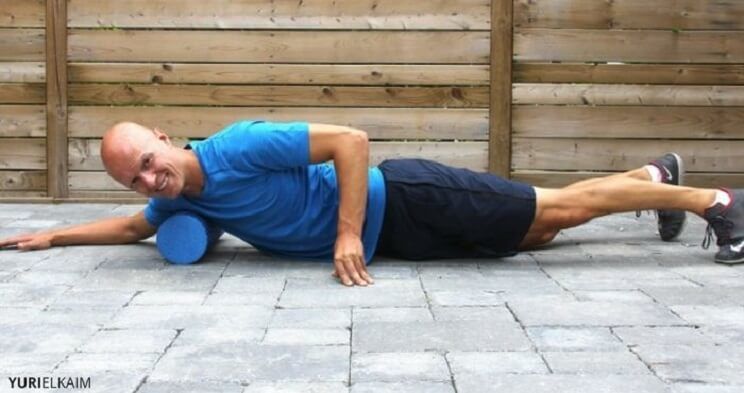
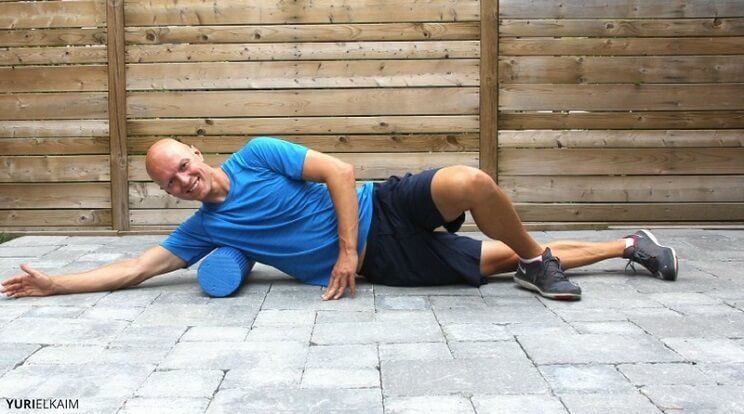
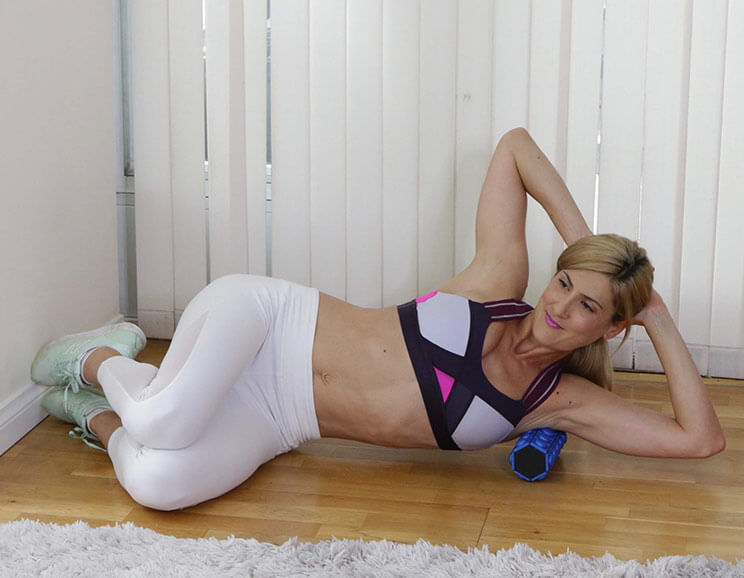
The lats are another area that can become tight, due to being hunched over all day. To release this pressure, place your roller under your armpit as you’re lying on one side. With your arm extended in front of you, roll it up and down the side of your back. Work from your armpit to the end of your ribcage, pausing on any tight spots.
5. Lower Back
Lower-back pain is one of the most common sources of chronic pain, especially as you age. That’s why you’ve probably seen (on more than one occasion) someone rolling out their lower back at the gym; however, you do not want to do this. The reason is that most lower-back pain is caused by a mechanical disruption in the alignment of the spine (e.g., the muscle disks and nerves), not by tight muscles or adhesions (2).
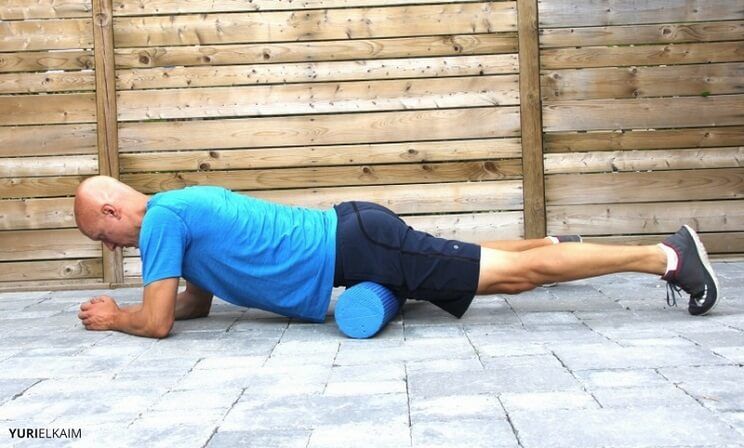
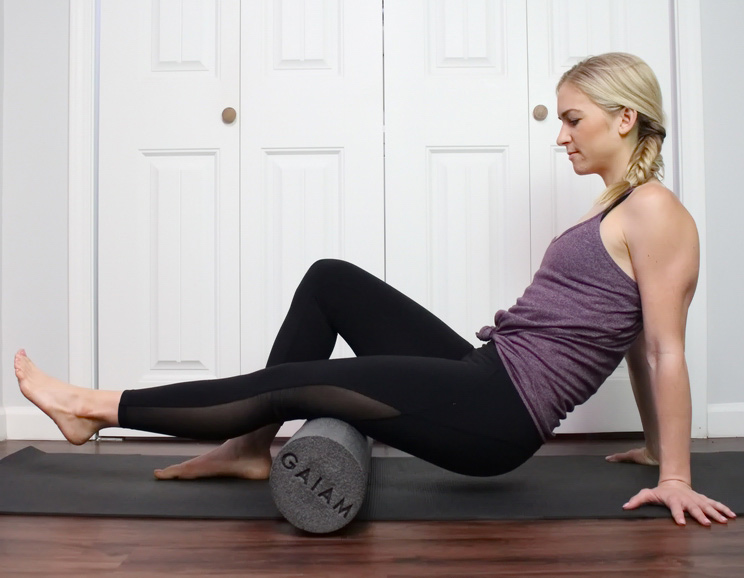
Instead, try rolling the hip flexors, as pictured above. They connect to the lumbar spine. Also, be sure to focus on the glute roll mentioned earlier.
Facing down, drop your hips onto the foam roller, and fully extend the legs. Lean to the side you want to work on—using the toes on your opposite leg for balance. Repeat on the other side.
Once you start foam rolling, you’re likely to look forward to it—as a refreshing end to a vigorous workout, or as a simple way to relieve tension. And if you want to try even more exercises, check out these 5 unusual foam roller exercises to hit those nagging tight spots.
After all, nothing beats a daily DIY massage.

(Read This Next: 8 Foam Roller Exercises To Flatten Abs)


 The 16 Best Paleo Waffle Recipes

Show Comments